

You changed a nameserver, updated an MX record, or migrated to a new host. Something stopped working. You open a ticket to figure out DNS checks and fix the hosting issues. You come to HostingSpell Support, we go to Wirewiki!
On our side, we don’t have magical access to DNS. We use the same protocols you do. The difference is knowing what to check, in what order, and how to read what we find. Most DNS issues fall into a handful of patterns — and once you know them, they go from “mysterious outage” to “five-minute fix.”
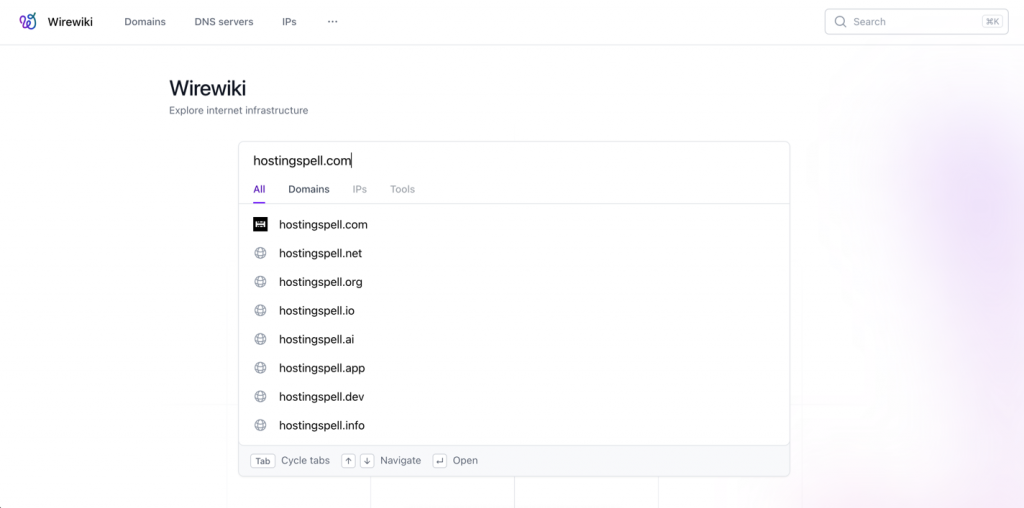
This is the diagnostic playbook our support team actually follows. We use Wirewiki for most of these steps because it lets us move through an investigation without juggling terminal windows and browser tabs. By the end of this article, you’ll be able to run most of these checks yourself — before you even need to open a ticket.
Step 1: Get the real data, not someone’s cache
A customer writes in: “I changed my A record an hour ago, but my site still shows the old server.”
The first thing we do is NOT query Google DNS or Cloudflare. We go straight to the authoritative nameserver — the server that’s actually responsible for the domain’s zone. If the authoritative server has the correct record, then the change was applied, and everything downstream just needs time to catch up. If it doesn’t, the change was never saved properly, and no amount of waiting will help.
This is the single most common source of confusion in DNS tickets. People check a lookup tool, see stale data, and conclude the change didn’t work. But most free tools query a recursive resolver, which may be serving a cached copy that’s hours old. That tells you what one resolver happens to have stored — not what the actual answer is.
Wirewiki’s DNS lookup resolves the authoritative nameserver for the domain and queries it directly. It shows you WHICH server it queried and the TTL on each record, so you can calculate exactly when caches will expire. If the A record shows 3600 and you changed it 20 minutes ago, you know you’ve got up to 40 more minutes before every resolver has caught up.
The rule: before you panic, check the authoritative server. If the record is correct there, the change worked. The TTL tells you when the rest of the internet will agree.
Step 2: Check propagation — but do it properly
Sometimes the authoritative server has the right data, but users in certain locations still see old results. Or your colleague in another country sees a different site than you do. That’s when you need a propagation check.
But not all propagation checks are equal. A lot of tools just query a handful of public resolvers — Google in Iowa, Cloudflare in San Francisco — and call it a day. That tells you very little about what an actual user in São Paulo or Singapore is seeing.
A useful propagation check needs three tiers:
– Authoritative nameservers: Do the domain’s own nameservers agree with each other? If they don’t, you have a misconfiguration that won’t resolve itself.
– Public resolvers: What are Google, Cloudflare, and Quad9 serving? These are the resolvers most users end up hitting.
– Local ISP resolvers around the world: What are real end users in different countries actually getting? Some ISP resolvers cache aggressively or have their own quirks.
The results should be grouped by answer, not listed server-by-server. If 47 out of 50 servers return 104.21.89.214 and 3 still return 185.199.108.153, you want to see that at a glance.
Wirewiki’s DNS propagation checker queries all three tiers and groups results by answer content. It gives you a clear status: fully propagated, authoritative servers consistent, but caches are catching up, or authoritative servers disagree. That last one is the important distinction — “caches are stale” fixes itself; “nameservers disagree” doesn’t.
Here’s a real pattern we see: a customer migrates to Hostingspell and updates their nameservers at the registrar. The propagation checker shows the two new authoritative servers returning the correct A record, but the two old nameservers — still responding because DNS is polite like that — are serving stale data. A portion of the internet’s resolvers are still asking those old servers. This isn’t a propagation delay. It’s a configuration gap. The fix is to remove the zone from the old provider so those servers stop answering authoritatively.
Step 3: Trace the delegation chain
Sometimes records look right, and propagation looks fine, but resolution still fails for some users. Or you’re seeing an NXDOMAIN that makes no sense. When the surface-level checks don’t explain the problem, we go one layer deeper: the delegation chain.
DNS resolution is a chain of referrals. Your browser asks a recursive resolver, which asks a root server, which points to the TLD server (.com, .net, etc.), which points to the domain’s authoritative nameserver. Every link in that chain needs to be correct.
Things that break here:
– Mismatched NS records. The registrar says “use ns1.newprovider.com” but the zone file still lists “ns1.oldprovider.com.” The parent and child disagree about who’s authoritative, and depending on which path a resolver takes, it may get the wrong answer.
– Stale glue records. The nameserver hostname resolves, but to an old IP. The server at that IP either doesn’t respond or serves a completely different zone.
– Domain suspension. The TLD server returns NXDOMAIN because the domain expired or was placed on hold by the registrar. This one looks obvious in hindsight, but isn’t always the first thing you check at 11 PM.
Wirewiki’s DNS trace walks the entire delegation tree — root servers through TLD through authoritative — and shows you what each hop returns. Every IP address is annotated with its owner and ASN, so when a glue record points to 216.239.32.10, you immediately see “Google” rather than having to look it up separately.
When to use this: if the records are correct at the authoritative server and propagation looks normal, but resolution is still failing, the delegation chain is almost certainly the problem.
Step 4: Diagnose email delivery with SPF
The other half of our DNS support queue is email. “I can send an email, but it goes to spam.” Or: “Some recipients reject my messages entirely.” Nine times out of ten, the answer is in the SPF record.
SPF (Sender Policy Framework) tells receiving mail servers which IP addresses are allowed to send email for your domain. If your SPF record is broken, incomplete, or overly permissive, mail servers may reject your messages or flag them as spam. The trouble is that SPF records are deceptively complex.
Here’s what a typical SPF record looks like:
v=spf1 include:_spf.google.com include:servers.mcsv.net include:sendgrid.net ~allLooks simple. Three includes. But each of those include directives references another domain’s SPF record, which may itself include more domains. Google Workspace alone expands into multiple nested records containing dozens of IP ranges. A company using Google Workspace, Mailchimp, and a transactional email service can easily chain 8-10 DNS lookups together.
Here’s the catch: the SPF specification allows a maximum of 10 DNS lookups. Exceed that, and receiving servers may treat your SPF record as broken — which means “no valid SPF” — which means your email gets flagged or rejected. Most people don’t realise how fast they hit this limit, especially when they’ve added services over the years and never cleaned up the ones they stopped using.
A basic SPF check will show you the raw TXT record. If you already understand SPF syntax, that’s useful. If you don’t, it’s a wall of text.
Wirewiki’s SPF tool resolves the entire include chain into a tree. Every include is expanded. Every A and MX mechanism is resolved to its actual IP addresses. Each IP is annotated with its owner, so instead of reading include:_spf.google.com and trusting that it’s correct, you see the actual IP ranges belonging to Google LLC. It counts the total DNS lookups and flags when you’re over the limit. While it detects circular references. It identifies known email senders by name.
A pattern we see regularly: a customer’s email is being rejected by Microsoft 365 recipients. We check SPF and find 12 DNS lookups. Three of the includes are for services the customer cancelled over a year ago — an old CRM, a marketing tool they trialled, and a previous transactional email provider. Removing the dead includes the lookup count dropping to 7, and the email starts delivering.
The takeaway: don’t just check whether you *have* an SPF record. Check what it actually resolves to, and how many lookups it costs.
Step 5: Follow the thread
What makes this workflow fast isn’t any individual check — it’s that the checks connect to each other. When we’re debugging on Wirewiki, one answer leads naturally to the next question:
The DNS lookup shows an A record pointing to 104.21.89.214. We click the IP. The IP page shows reverse DNS, the ASN (Cloudflare), and what other infrastructure lives there. The nameservers link to DNS server pages with their own details. The SPF record includes _spf.google.com — click through, and we see Google’s full include chain expanded.
Traditional CLI tools — dig, nslookup, and host — are powerful, and our team still uses them. But they’re stateless. You get an answer, form a hypothesis, and type another query from scratch. When you’re chasing a problem through DNS records, IP addresses, nameservers, and email configuration, the ability to just click through the chain of evidence shaves real time off an investigation.
Try these before you open a ticket
Here’s the short version. Next time something breaks, run through these in order:
1. Check the authoritative server. Go to Wirewiki’s DNS lookup and look up your domain. Is the record correct at the source? If yes, the change worked — check the TTL to know when caches expire.
2. Run a propagation check. Open the DNS propagation checker. Do the authoritative servers agree? Are public and local resolvers catching up, or is there a genuine inconsistency?
3. Trace the delegation chain if the records look right, but resolution fails. The DNS trace shows every hop from the root to the authoritative. Look for mismatched NS records or stale glue.
4. Validate your SPF record if email is bouncing or landing in spam. The SPF lookup expands the full include chain. Check the lookup count, remove stale includes, and verify the right senders are authorised.
5. Check reverse DNS for your mail server’s IP. Forward-confirmed reverse DNS (FCrDNS) matters for email reputation. If the PTR record doesn’t resolve back to your sending IP, some recipients will reject your mail.
Most DNS problems become obvious within the first two steps. If you get through all five and it’s still unclear — that’s when we’re happy to help.
A note on how we work with Wirewiki
Our support team used Wirewiki and their other tools before any formal relationship existed. Wirewiki is a transformed and mature tool based on industry standards, used by tens of thousands of expert users at any given time. It became the default diagnostic tool because it was faster than the alternatives and the data was more reliable — querying authoritative servers directly instead of serving cached results makes a real difference when you’re troubleshooting.
That daily use turned into a conversation. We helped Ruurtjan Pul, a founder and visionary man behind Wirewiki, with infrastructure for testing, and our collective feedback loop is always available to him to further advance and make Wirewiki the go-to tool for DNS checks and troubleshooting. We now share patterns from our support desk with the Wirewiki team: the types of misconfigurations we see most often, the things that confuse customers, and the checks we wish we could run but can’t yet. They use that input to shape what they build next.
What we offered to Ruurtjan is far less than what he enables for us! It’s a partnership grounded in a shared interest. We want our customers to have fewer DNS problems. Wirewiki wants to build tools that solve real problems. That alignment is why we recommend them — not because of a logo on a partner page, but because our team genuinely reaches for it first every day.


Share Your Comments & Feedback